
Clownfish Voice Changer
Clownfish Voice Changer is a versatile app that can convert text to speech. It also includes a fully functional music player kind of like VLC. Plus, it features a robust soundboard system, letting you create different sounds just by pressing keys on your keyboard.
License
Free
Version
Latest File
Size
Varies with device
Update
5 Hours ago
OS
Windows, Mac, Android, iOS
System Requirements
Before you download Clownfish, please make sure that your computer has these minimum system requirements. It does not need a powerful setup, but a few things must be in place for it to work smoothly:
Clownfish Voice Changer works smoothly on most standard Windows PCs and does not require a high-end system.
Requirement
Details
App Name
Clownfish Voice Changer
Operating System
Windows 7, 8, 10, or 11 (64-bit)
Processor
Dual-core or higher
RAM
At least 2 GB
Storage Space
Around 15 MB of free space
Microphone
Required for voice input
Admin Rights
Needed for proper installation/setup
We’re going to walk through the entire installation process, and then we’ll go over a few pitfalls you might run into. Some people complain their microphone doesn’t work after installing it, but that’s all down to settings. There’s no virus I’ve fully tested it myself.
Once we’ve got all that sorted out, we’ll dive into all the cool features Clownfish Voice Changer offers. That way, you’ll be able to spice up streams, Skype calls, Discord chats, and any of your video or audio editing projects.
Download (Step by Step)
Step one: Open up your preferred browser on your desktop, search for clownfish voice changer and hit Enter.
Step two: When you’re on the site, just click the download button. You’ll be taken to the download page, where you’ll see a bunch of different Clownfish Voice Changer versions.
Notice: If you’re on Windows 10 or newer, you can use the 64-bit version. Otherwise, grab the 32-bit version. I’m currently on the latest Windows 11 PC, so I’ll be downloading the 64-bit file. Just a heads-up, this won’t work on Mac it’s strictly for Windows devices.
Step three: Once you’ve downloaded that .exe file, go ahead and click the soundboard download button as well. That’ll download a .zip file to your computer.
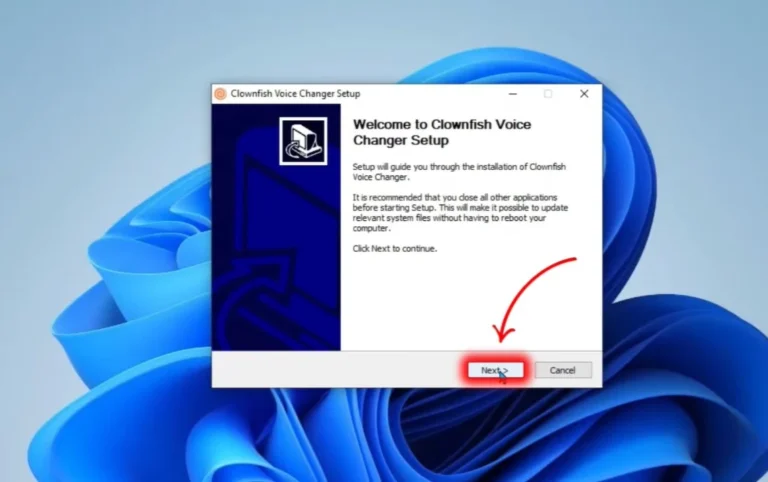
Step five: Double-click the .exe file in your downloads folder. The installation wizard will pop up, and you’ll get on-screen instructions guiding you through the setup.
During the Clownfish Voice Changer installation, you’ll notice it temporarily stops your audio services and shuts down the Windows Audio Endpoint Builder.
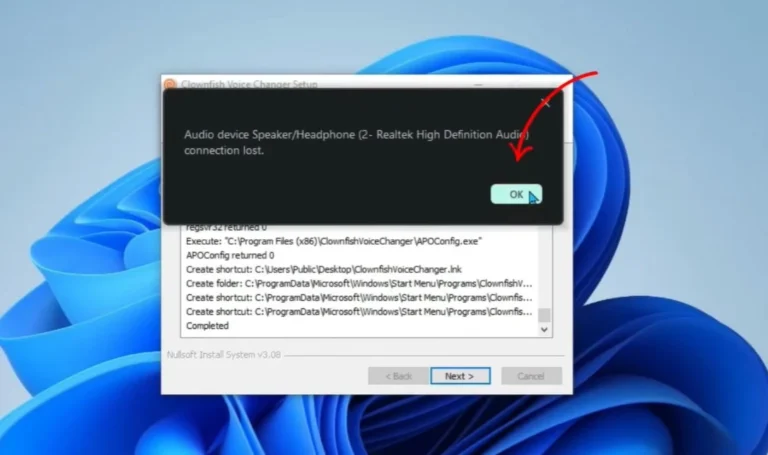
What it’s doing is basically inserting another program in between. When it stops those services, it lets Clownfish adjust how your microphone audio is handled, so it routes your mic input into Clownfish and then sends the processed sound out to your speakers.
If you have multiple microphones connected, it might pick the wrong one. Once you launch the program, you could realize the wrong mic is selected. So after installation, it’s a good idea to restart your computer to make sure everything syncs up properly.
How to Use the Clownfish Voice Changer?
When you launch the program, if you chose to create a desktop icon during installation, just press the Windows + D keys to see it. If it’s not on your desktop, just use the search bar in the bottom left assuming you’re on Windows 10 or an earlier version of Windows.
Now, type “Clownfish” in the search bar, and you’ll see Clownfish Voice Changer appear. You can open the app from there. If you want to uninstall it, you can click the uninstall option. But when you double-click the Clownfish icon to open it, don’t be surprised if you don’t see any interface it just runs in the background.
You might think nothing’s happening, or that maybe the installation didn’t work, and all sorts of doubts pop up. The answer is: it’s running just fine! You just need to adjust the program’s settings from the system tray in the bottom-right corner of your screen.
So, you’ll see it pop up down there. You might need to click the little upward arrow to find it. Once you do, right-click on it, and you’ll see all the available settings. Now, remember we’re going to check whether the correct microphone is selected for it.
To do that, you’ll go to the Setup option. From there, you’ll see another menu either on your right or left side. Click on “System Integration.” Once you do, a window will open, showing all your microphones and devices that handle sound for your system.
Make sure your microphone shows the word “Remove” next to it this means the necessary drivers are installed. If you check the list and see “Install” next to your mic instead, just click “Install” and that’ll activate your microphone.
Let’s go over a few more fixes in case you’re still having mic issues. We can try things like checking your system sound settings, making sure your privacy permissions allow mic access, or even updating your audio drivers. Let’s make sure everything’s covered!
When you’re in the Clownfish setup, make sure only one microphone is properly installed. You don’t want multiple entries showing “Remove.” If you’re using a USB mic, unplug it. Then go to the system tray, right-click Clownfish, and choose Exit. After that, plug your mic back in and restart Clownfish.
Remove any other voice-changing software on your computer because it’ll conflict with Clownfish. So, uninstall that one, then uninstall Clownfish as well, restart your computer, reinstall Clownfish, and set it up again. Also, if you hear echo, it might be because both “Hear Microphone” and “Hear Music” are enabled. You may need to uncheck the microphone option to avoid that.
Clownfish Voice Changer Features
So, once Clownfish Voice Changer is running, if you click the little upward arrow in the system tray, right-click on Clownfish, and then left-click on “Set Voice Changer,” you’ll see a window called “Voice Changer.” In that window, the top section will have all the voice-changing buttons for you to play with.
Now you can pick any of those voices for your task just click on one, and it’ll change your voice instantly. If you want to go back to your normal voice, just click the “Clear effect” button located at the bottom left.
- Alien
- Atari
- Fast Mutation
- Slow Mutation
- Helium pitch
- Baby pitch
- Clone
- Mutation
- Male pitch
- Female pitch
- Radio
- Robot
The effect mixer is a really cool feature. On the right side, there’s an arrow that opens a side panel where you can combine two or more effects, letting you create your own fun sound. Another awesome effect is the vocoder. What it does is blend a waveform with your voice, creating a unique sound. There are plenty of waveforms to choose from to mix with your voice.
The next parameter is microphone sensitivity, and it’s pretty aggressive. I’d suggest not going more than halfway up the slider. It acts like a noise gate once your voice gets quiet, it cuts it off completely, which will affect how you sound. The “Append Original Voice” parameter means your natural voice is layered with the changed voice, so you can hear what you’re saying a bit more clearly.
Then there’s the checkbox for applying effects to music, sound, and text-to-speech. When you check it, the effects will be applied not just to your voice, but also to any music, sounds, or text-to-speech features you’re using.